Install and Setup Git
In the last section we created a new project on GitHub–the next step is to clone that repository to our local machine to start working on it.
To do that, you will need Git installed on your computer.
Install Git
Installing this free and open source software is pretty straightforward:
Download and run the Git for Windows installer. Using the default options, except when setup asks you to choose the default editor used by Git, select “Use the Nano editor by default”.
This package will give you Git, Git Bash, and Git GUI. Git Bash is a terminal that lets you use UNIX style commands and utilities on Windows.
Choose one of these options:
- Installing the “Xcode Command Line Tools” will provide Git and a variety of other developer helpers. Open a terminal (to find your terminal search for “terminal” in your Spotlight), type in the command
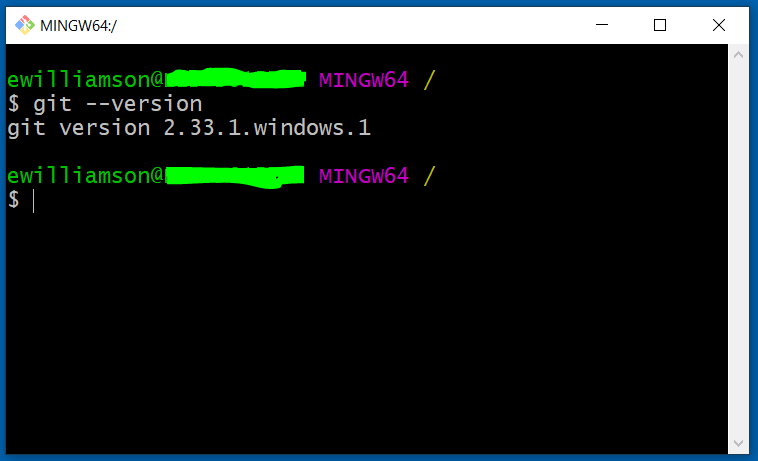
xcode-select --install, and follow the prompts. After the install finishes, try typinggit --version. - For newest version of Git, download the official Mac git installer.
Your distribution’s software center or package manager will be able to install Git (it is pre-installed on many distros, check by typing git --version into a terminal).
To install on Ubuntu, use: sudo apt install git.
Open a Terminal
For this workshop we will be using Git on the command line. Although there are GUI clients to manage Git repositories, being familiar with the command line version will help you better understand the basic workflow.
So the first step is to open a terminal window!
On Windows you will have to use “Git Bash” which comes packaged with the Git installer. This provides a UNIX-like environment, so your commands are the same as on Linux or Mac. Open your Start menu and search for “Git Bash” to open your terminal. You can also right click on a folder in File Explorer and choose the option “Git Bash Here”–this can save time navigating around on the command line!
On Mac and Linux, your terminal app is called “terminal”! Search for it and open. You are ready to go!
Check the command line navigation cheatsheet or this mini-lesson if you need a refresher.
Git Setup
Some initial setup is necessary the first time you use Git on a computer. You will use these commands only once, unless you want to change something.
Set your user name and email (matching your GitHub account):
git config --global user.name "example name"
git config --global user.email "myemail@gmail.com"
(If you set set up email privacy on GitHub, remember to use the correct email alias!)
Next, set your default text editor.
The current versions of the Git for Windows installer allow you to set the default editor during setup, so Windows users should not need to complete this step.
In general Linux and Mac users should set their Git core.editor to "nano -w" as well.
Nano is a basic command line editor that is fairly easy to use.
Set the default editor with this command:
git config --global core.editor "nano -w"
Git opens the default editor to ask for commit messages if you did not provide one–which you are most likely to encounter it when merging.
The default default is Vim, which can be confusing…
If you are stuck in Vim and can’t figure out how to escape, type Esc then :wq then Enter to save and quit (VIM quick ref, and don’t worry, you are not alone in confusion).
With our test repository ready on GitHub and Git configured on your computer, we can move on to the basic Git workflow!
Note: one more config you might run in to is for pull.
Recent Git installations do not have a default behavior set for git pull, so the first time you encounter a conflict and merge, you will get a big error message asking which approach you want to use (merge or rebase).
To avoid this, you can set the old default behavior in your config, which is git config --global pull.rebase false.
Authentication
When you push to GitHub or other platforms you will need to authenticate. The exact details of authenticating from the terminal will depend on the platform, security settings, and your operating system.
- On Windows git will come with a builtin credential manager–the first time you try to
pushyou should be redirected to your web browser to authorize on GitHub. - On Mac (and Windows) GitHub Desktop or Visual Studio Code also bundle a git credential manager–however, you may need to make your first push on on those tools to initially set up authorization, then it will work on the terminal as well.
- On Linux you will probably want to manually set up a credential manager.
Check the authentication docs on GitHub for more info.
Global Ignore (especially for Mac users!)
We can create “.gitignore” files for individual repositories to exclude things from version control. However, there are some system files that you do NOT want to commit in any repository. Out of the box git generally ignores these, however, occasionally things can come up that you will want to globally ignore. The most common is “.DS_Store” on Mac–if you are seeing “.DS_Store” show up in your changes, follow these steps:
- Create a “.gitignore_global” file in your home directory with the name of the file you want to ignore. This can be done with the command:
echo '.DS_Store' >> ~/.gitignore_global - Configure git to use that file globally:
git config --global core.excludesfile ~/.gitignore_global
Create Repository Locally
P.S. In general it is easiest to start a repository on GitHub then clone to your local machine. However, if you really want to, you can create a local repository:
mkdir example-repo
cd example-repo
git init
If you want to connect this local repository to GitHub, you have to use git remote add to set up the “remote”.