Arduino Code
Let’s use code to make an LED blink! This mini project will get you oriented to the UNO, the IDE, and the code that makes it do stuff.
Code; Integrated Development Environment
For this project all we need is an UNO board, a USB cable, and the IDE.
The Arduino IDE is our “Integrated Development Environment” –> an application that allows you to edit/write code, compile it, and send it to Arduino devices. This mini project introduces some of the features of the IDE and can help you test to ensure everything is set up correctly on your computer.
First Arduino Program
-
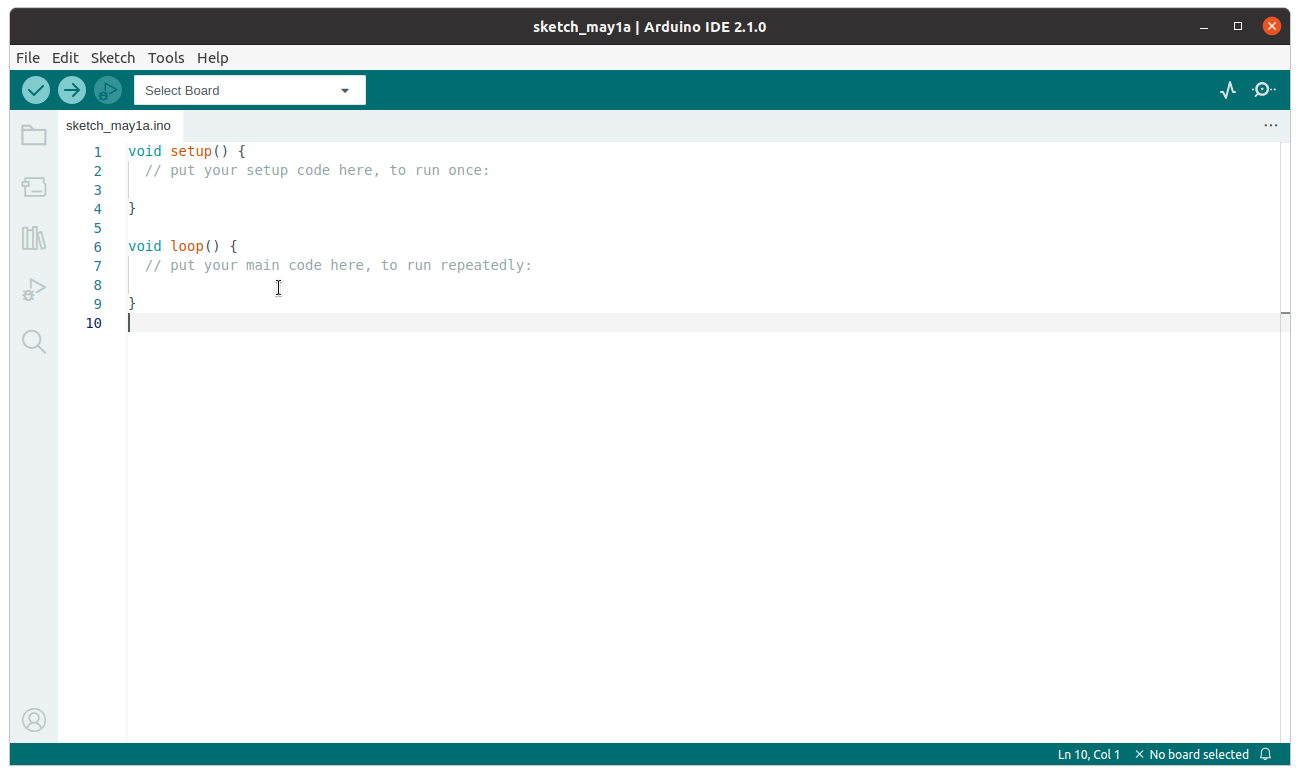
Open Arduino Software IDE.
![Arduino IDE window with blank sketch code]()
-
Click
File>Examples>01.Basics>Blink. This will open a new window with the Blink program. These built in examples are a great way to learn. You don’t need to write code from scratch: borrow. That is the power of code!“Sketches” are programs written using the Arduino IDE. Each is saved in its own folder and has the extension
.ino. - Take a first look at the code:
//means the line is a comment. The computer will ignore it - humans only!- Multiple line comments are enclosed between
/*and*/. For example,/* this is a comment */ - Each Arduino program is made of two functions,
setup()andloop(). Code in thesetup()runs one time when the board starts up. Next, code in theloop()runs and then repeats until you pull out the plug!
-
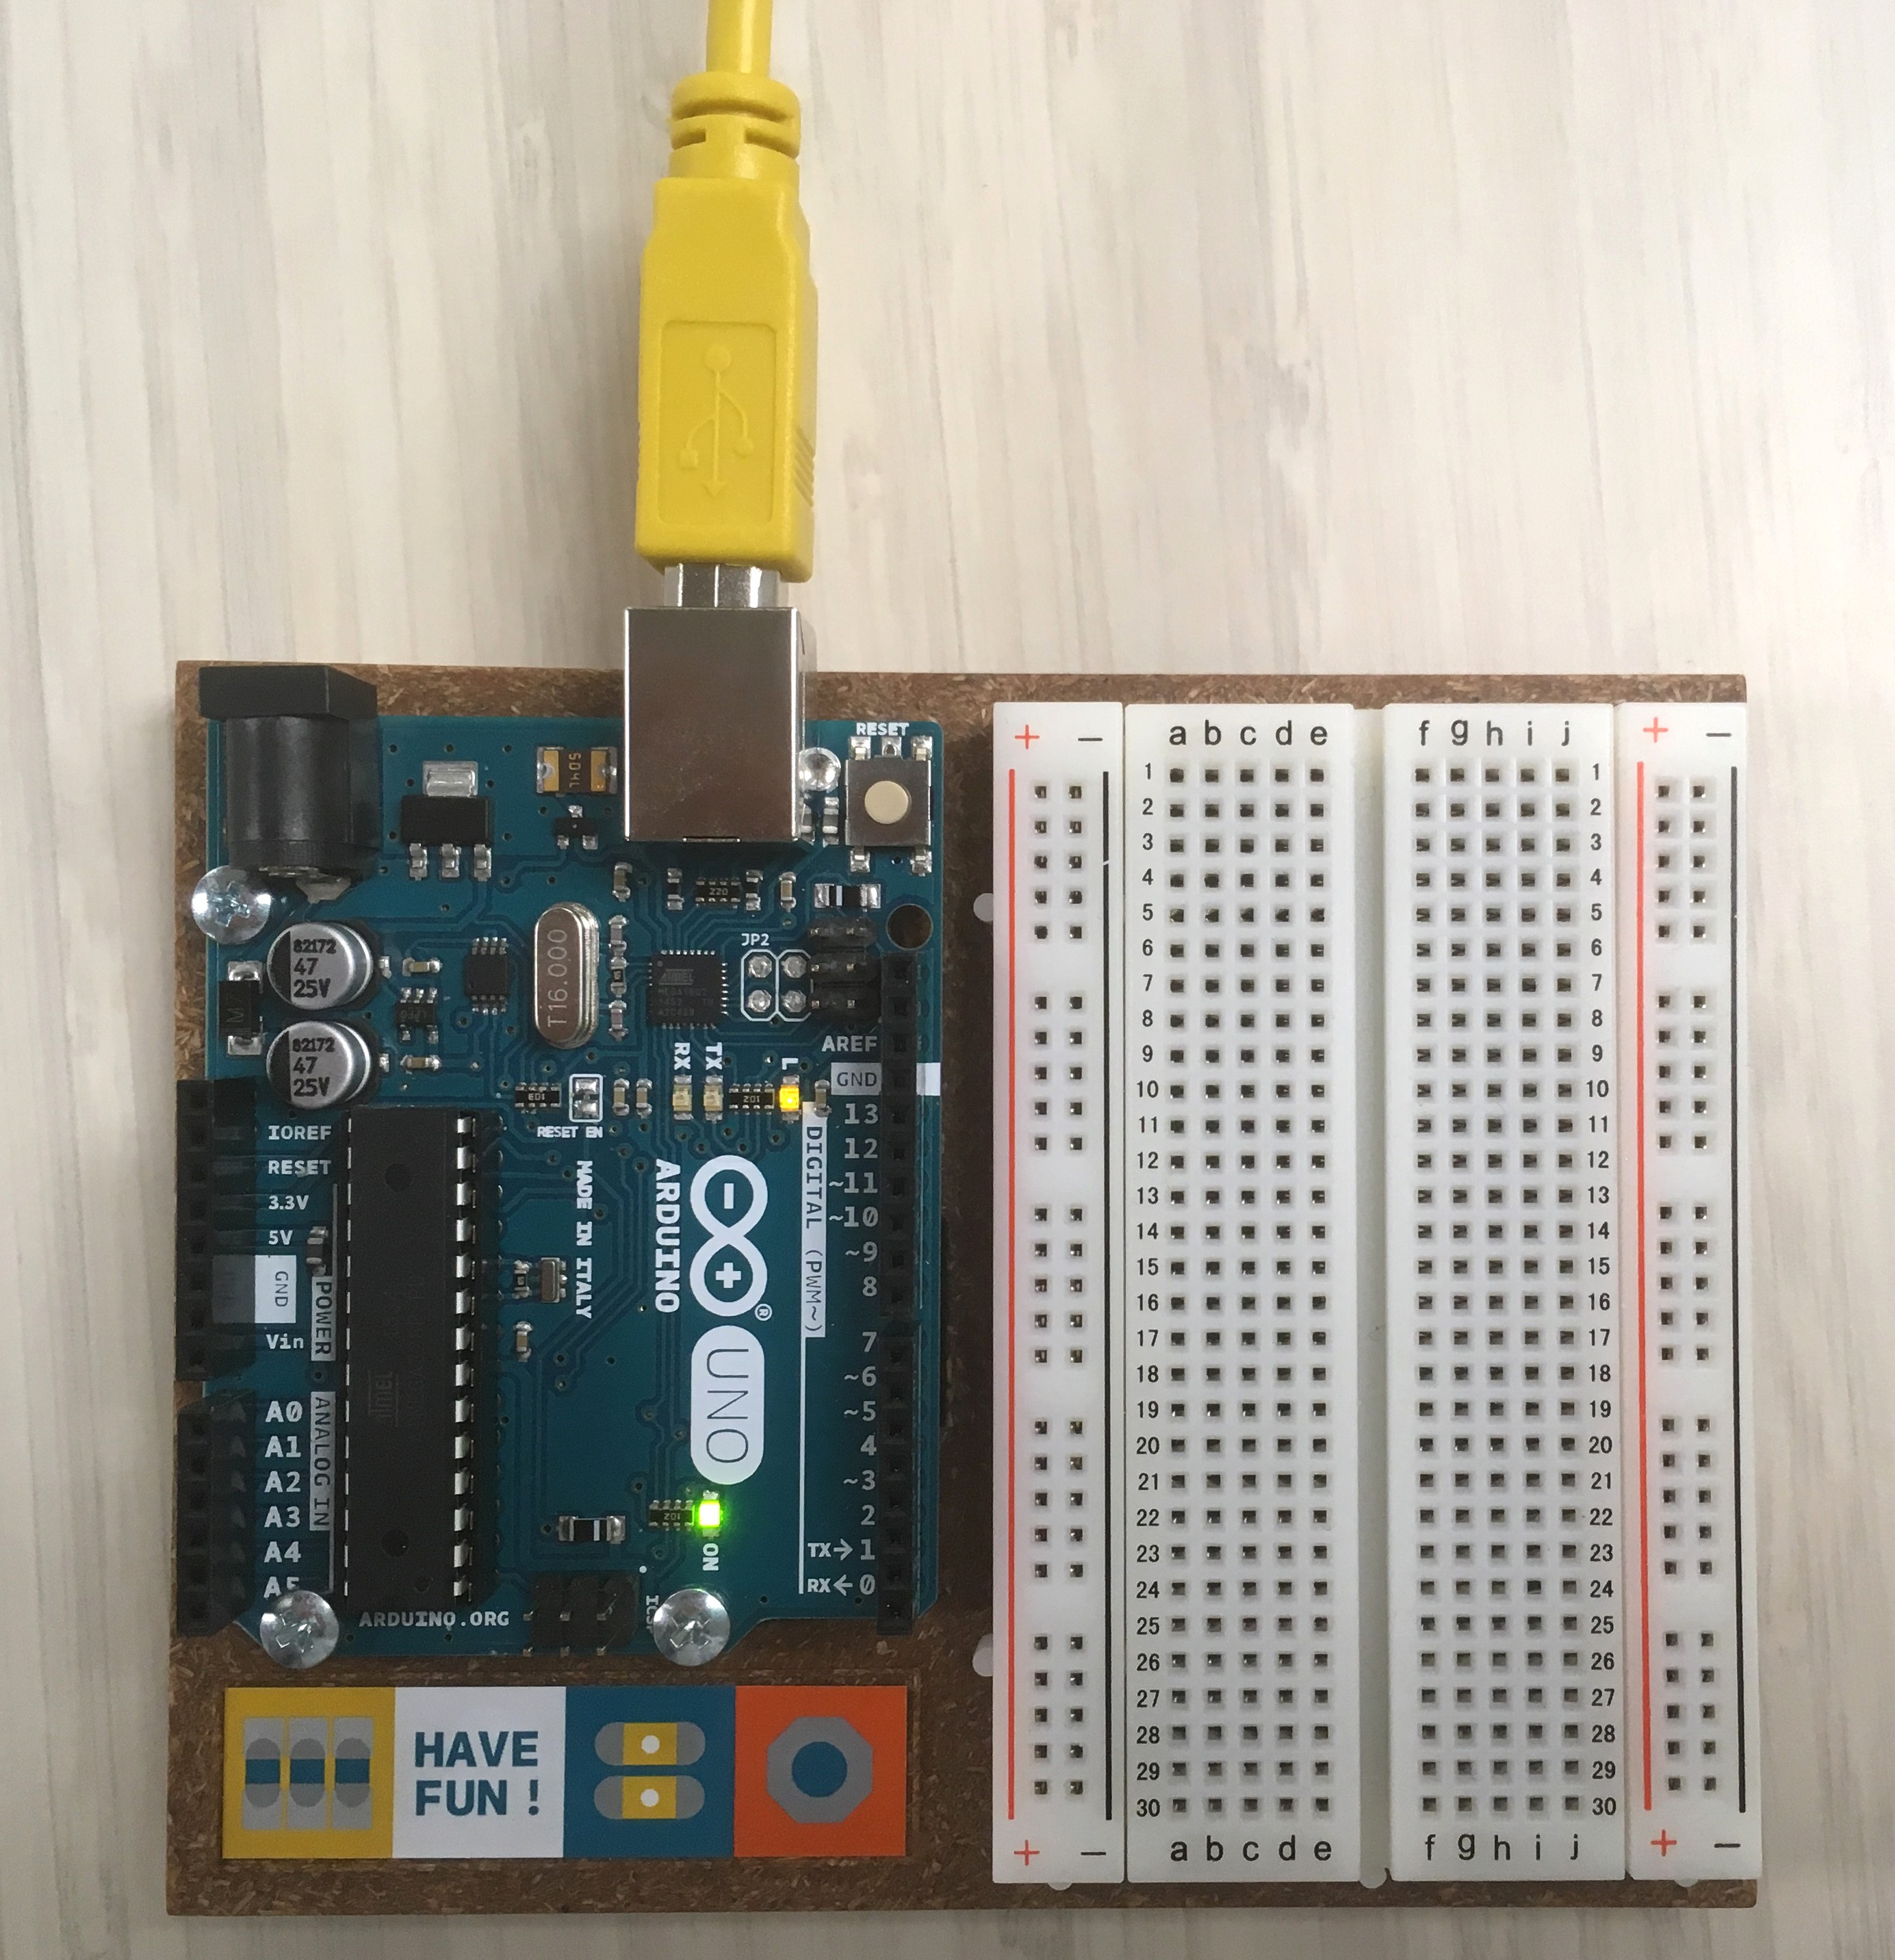
Plug your USB cable into your UNO and computer.
![UNO board plugged in to USB with lights on.]()
-
On IDE, click the “Select Board” dropdown. If your board is plugged in, you should see an option for “Arduino UNO”.
(Note: on the Legacy IDE you will have to use the menu to select
Tools>Board>Arduino UNOto set the correct board, then clickTools>Portand select the port where your UNO appears. For example, you might seem something like “COM9 (Arduino Uno)”. The number differs depending on where your computer mounts it.) - On the menu bar of the IDE you will see two icons:
- the check mark icon for “Verify”. Clicking this option will compile your sketch and output any errors in the console window below the text editor. This lets you check your code to make sure everything is correct!
- the arrow icon for “Upload”. Clicking this option will compile your sketch and upload the result to your connected UNO. Any errors will appear in the console window. This how you program (and re-program) your board!
Blink
Let’s take a close look at the Blink example code:
/*comments*/clearly explain the sketch.pinMode()is a set up function that tells our board to use a specific pin as an output or input.LED_BUILTINis a special variable that refers to a LED built in to a board.digitalWrite()is like a switch:HIGH= on,LOW= off.delay()is a timer that make the program wait. The delay is given in milliseconds.
Now modify this code! Change the delay times or add more on/off’s in a pattern, then click the upload arrow to get it running on your board.
Congrats: you are a programmer!
The Arduino IDE v1 was based on the “sketchbook” created for Processing and Wiring, platforms originally designed for creating interactive projects in the visual arts.
The Arduino programming language is a set of libraries in C and C++ designed for the boards. Arduino IDE hides some of the complexity of setting up, but be proud that you are writing C/C++ code!